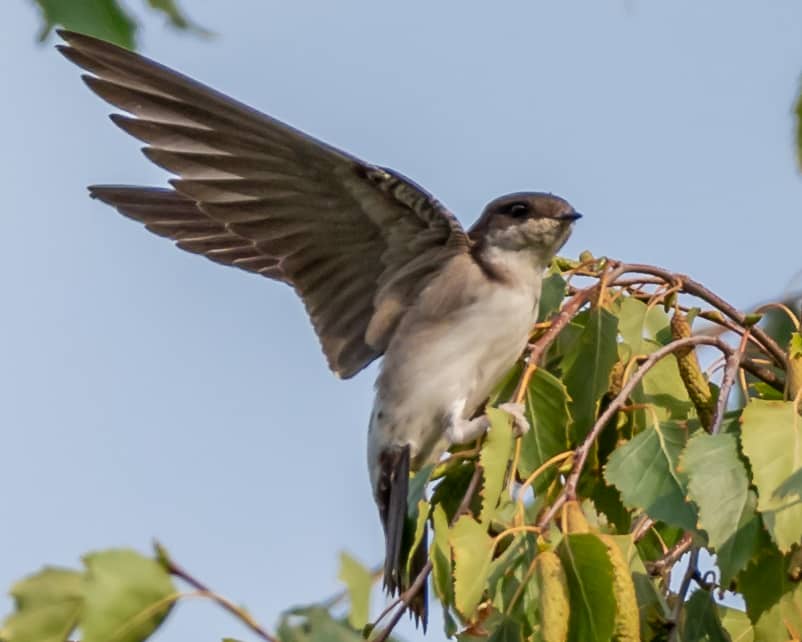
I love my first bird photo!
Finally – all my work paid off. Last Friday I woke up, grabbed my gear and drove with the tram to my next local park, in the hopes to photograph some birds. In the last couple of weeks I tried it several times, but I made so many mistakes, which I will be talking about later. But without further talking, here’s the shot I am most proud of. (The other ones are all the way down there.)

But how did I get this shot?
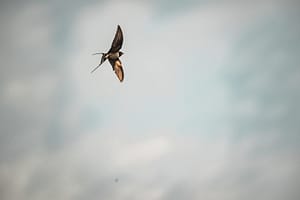
All began this summer. I started working as a lifeguard, to be able to buy me a supertelezoom lens. After saving up enough money, I bought the Nikon 200-500 mm lens. Photographing the moon was the main reason I bought it, but not long into it, I realized I could try it for some bird photography. And that’s what I did, here are my first good results.


As you can see for website thumbnails these pictures are enough. But wait until we zoom in…

Well, as you can see, the photo looks kind of blurry and soft. What did I do wrong and what tips do I have?
So what went wrong?
1. Shutter speed
That was the number one reason, that ruined my bird pictures. I kept the shutter on 1/500 of a second, but apparently that’s too slow. The bird is moving, your lens is moving, your hands are shaking. All this movement, even with the vibration reduction on, is noticeable. For that, I tried 1/1000 of a second for bigger birds and a shutter of 1/2000 for the smaller birds. My ISO automation is on, and I kept it below 3200. And this works pretty well, try it out for yourself!
2. Autofocus
First thing that helped me a lot, was changing the autofocus speed. Yes, you can change it. At least it’s responsiveness to new objects, which can be set to the fastest speed possible. Also, I didn’t use the smart autofocus option on my camera, cause it felt like this one is not accurate at all time. For the autofocus, I recommend having it on continuous autofocus, and either a single or a dynamic measure field. And make sure it’s perfectly on the bird, even if you are the slightest bit off it will be noticeable.
3. Distance to the bird
A crucial point in photographing birds is the distance to the bird. You can either narrow it down with a bigger focal length, or you have to get closer to it. For me, getting a bigger focal length isn’t really an option, because these lenses are way too expensive. For example, many photographers buy a prime lens with a 500 mm focal length and combine it with a teleconverter. Indeed, you get some great results, but be ready to spend at least €6000. In fact, the original Nikon 500 f/4 costs around €12500 right now.
Get even closer!
Apparently if you have a zoom lens like me, the best way to fill the frame with your bird, is to slowly sneak up on the bird. But don’t walk straight at it, try a zigzag kind of style. Also look at it out of the corner of your eye – Don’t stare at it, it will think you are the kind of predator that wants to hunt it down. Therefore, patience is key. When the bird is watching you, stand still. If it is doing whatever it has done before, you can walk.
Thank you for reading into my blog. Tell me if you have something to correct or new tricks that I could add to it. Leave a comment below or contact me. Here are more of the shots I took (you can click on them too):
